Let's break down the process of creating your own male anime character model. Whether you're a digital artist using software like Clip Studio Paint, Procreate, or Blender, or a traditional artist with pencils and paper, the fundamental steps remain similar.
1. Concept and Ideation
Every great character starts with an idea. Ask yourself:
- Who is this character? What is their personality? Are they brave, shy, cunning, kind?
- What is their backstory? Where do they come from? What are their motivations?
- What is their role? Are they the protagonist, antagonist, a supporting character?
- What is their aesthetic? What kind of clothing do they wear? What is their general vibe?
Jot down notes, create mood boards, and sketch out rough ideas. Don't be afraid to explore different concepts until one sparks your interest. For instance, you might be aiming for a stoic warrior type, a mischievous rogue, or a gentle, artistic soul. Each archetype will inform your design choices.
2. Sketching the Basic Form
Start with basic shapes to establish the character's pose and proportions. Think of the body as a series of spheres, cylinders, and cubes.
- Gesture Drawing: Begin with loose, flowing lines to capture the character's movement and energy. This is less about detail and more about the overall feeling.
- Blocking Out: Define the major forms – the torso, limbs, head. Ensure the proportions feel right for the character you envision.
- Refining the Silhouette: The outline of your character is crucial. A strong silhouette makes a character instantly recognizable. Experiment with different body shapes and clothing to achieve a unique profile.
3. Detailing the Features
Once the basic form is established, you can start adding the specific details that make your male anime character model unique.
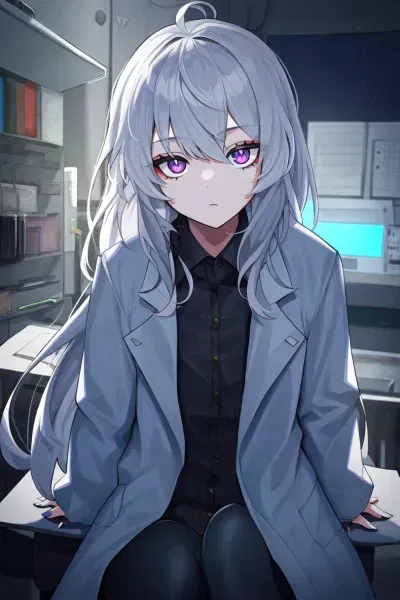
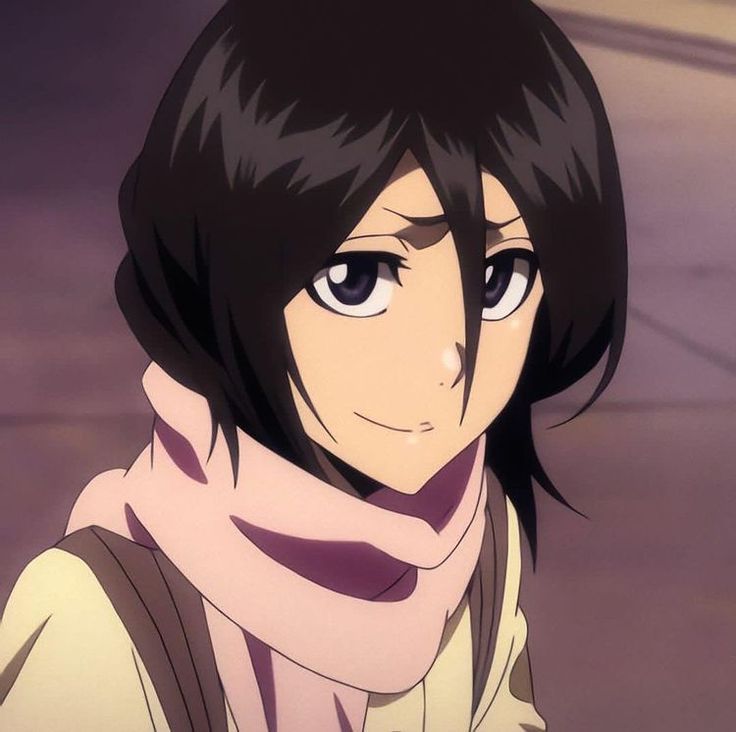
- Face: This is often the focal point. Pay attention to the shape of the eyes, nose, mouth, and jawline. Consider hairstyle – is it spiky, flowing, short, or long? How does it complement the character's personality?
- Hair: Anime hair is often stylized and can defy gravity. Think about how the hair falls, its texture, and how it frames the face. Does it have sharp highlights or soft gradients?
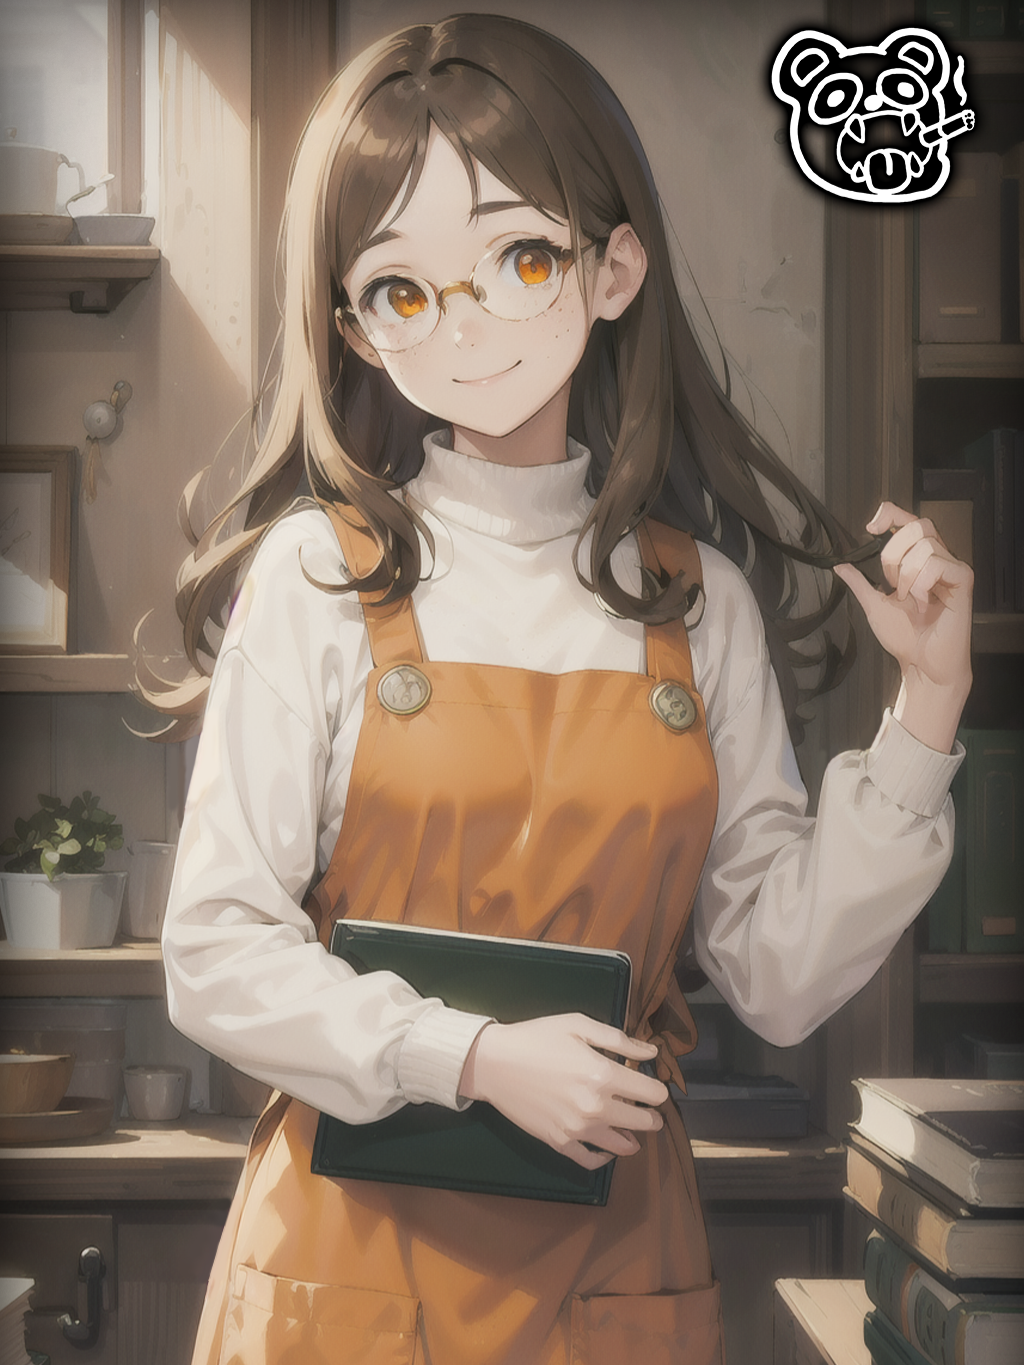
- Clothing and Accessories: What does your character wear? Does their attire reflect their personality, profession, or social status? Think about details like buttons, seams, wrinkles, and any accessories they might have – scarves, jewelry, weapons, etc.
- Hands and Feet: As mentioned, these can be tricky. Focus on clear gestures and simplified forms. If the character is holding something, ensure the hands interact believably with the object.
4. Shading and Coloring
This is where your character model truly comes to life.
- Line Weight: Varying the thickness of your lines can add depth and emphasis. Thicker lines might be used for outlines or areas in shadow, while thinner lines can define details.
- Shading Techniques: Anime shading often involves cel-shading (hard-edged shadows) or soft shading (gradual transitions). Choose a lighting source and apply shadows accordingly. Consider how light interacts with different materials – skin, fabric, metal.
- Color Palette: Select colors that reinforce the character's personality and the overall mood of your artwork. Warm colors might suggest friendliness, while cool colors could imply aloofness or mystery.
5. Refining and Polishing
The final stage involves cleaning up your artwork, adding highlights, and making any necessary adjustments.
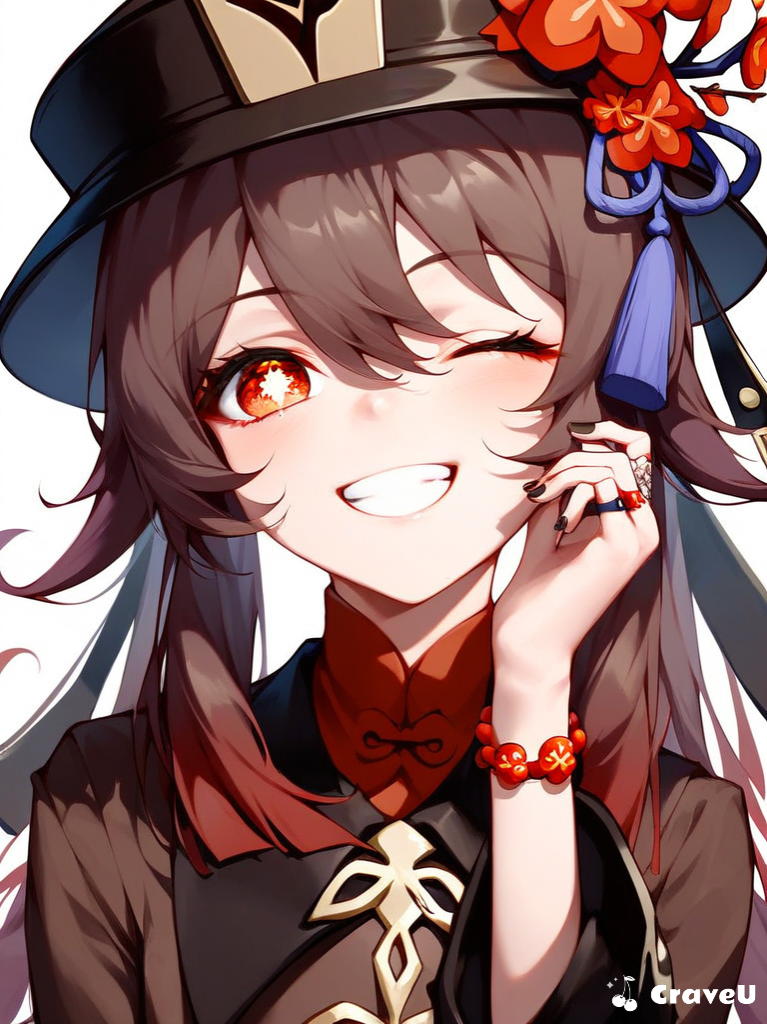
- Highlights: Strategic highlights can make your character pop, adding a sense of shine and dimension, especially to hair and eyes.
- Background Elements: Consider if your character needs any simple background elements to enhance the scene or context.
- Consistency: Ensure all elements of the design are consistent with the character's established personality and backstory.