Now, let's translate these principles into practical drawing techniques specifically for male anime characters.
Step 1: Sketch the Body and Pose
Always start with a clear understanding of the character's pose and the underlying anatomy. A simple gesture drawing or mannequin can serve as your base. This ensures that your clothing design conforms to the body, not the other way around.
Step 2: Block in the Basic Garment Shape
Lightly sketch the basic silhouette of the clothing item over the body. Think about the overall volume and fit. Is it loose, fitted, or baggy? Consider how the fabric would hang naturally if it were a simple, unwrinkled sheet.
Step 3: Add Folds Based on Pose and Fabric
This is where the magic happens. Analyze the pose and identify areas where fabric would naturally fold, bunch, stretch, or compress.
- Joints: Add compression folds around elbows, knees, and shoulders when the limb is bent.
- Waist/Hips: If the character is wearing a belt or waistband, add cinch folds above and below it.
- Gravity: For loose garments, add hanging folds along the bottom edges and any loose panels.
- Tension: If the fabric is pulled tight across a muscle group (like the chest or biceps), add tension folds that follow the contour of the muscle.
Pro Tip: Don't overdo it! Too many folds can make the clothing look messy and confusing. Start with the most prominent folds and add more detail as needed. Observe real-life clothing or reference photos for inspiration.
Step 4: Refine the Lines and Add Detail
Once the primary folds are established, refine the lines. Make sure the fold lines are clean and follow the curves of the fabric. Add details like seams, buttons, zippers, and pockets. These details add to the believability and character of the garment.
Step 5: Shading and Highlights
Shading is crucial for giving fabric dimension.
- Core Shadows: Apply darker tones in the crevices of folds.
- Cast Shadows: Consider shadows cast by the garment onto the body or by one part of the garment onto another.
- Highlights: Use lighter tones or leave areas white on the raised surfaces of the fabric where light would hit directly. The intensity and placement of highlights depend on the fabric's texture and the light source.
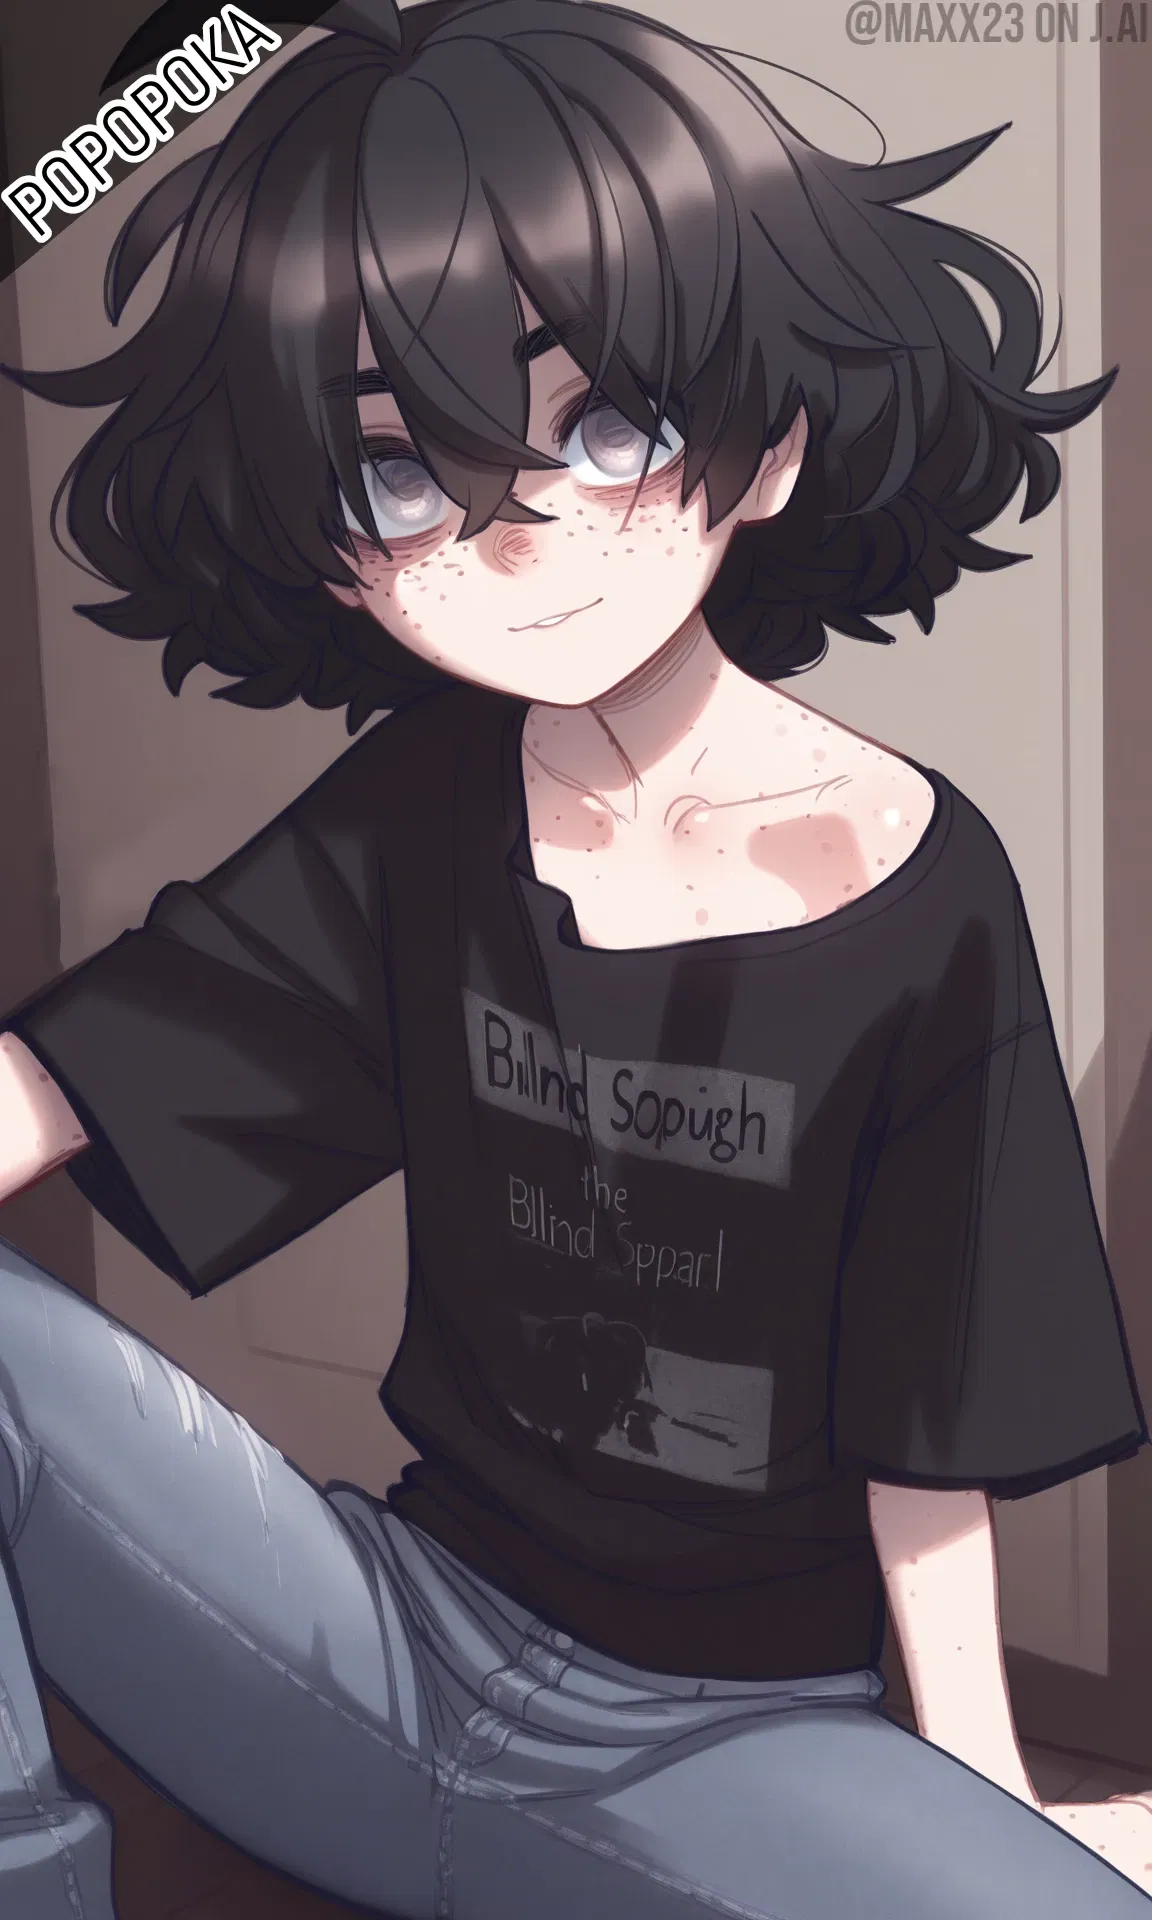
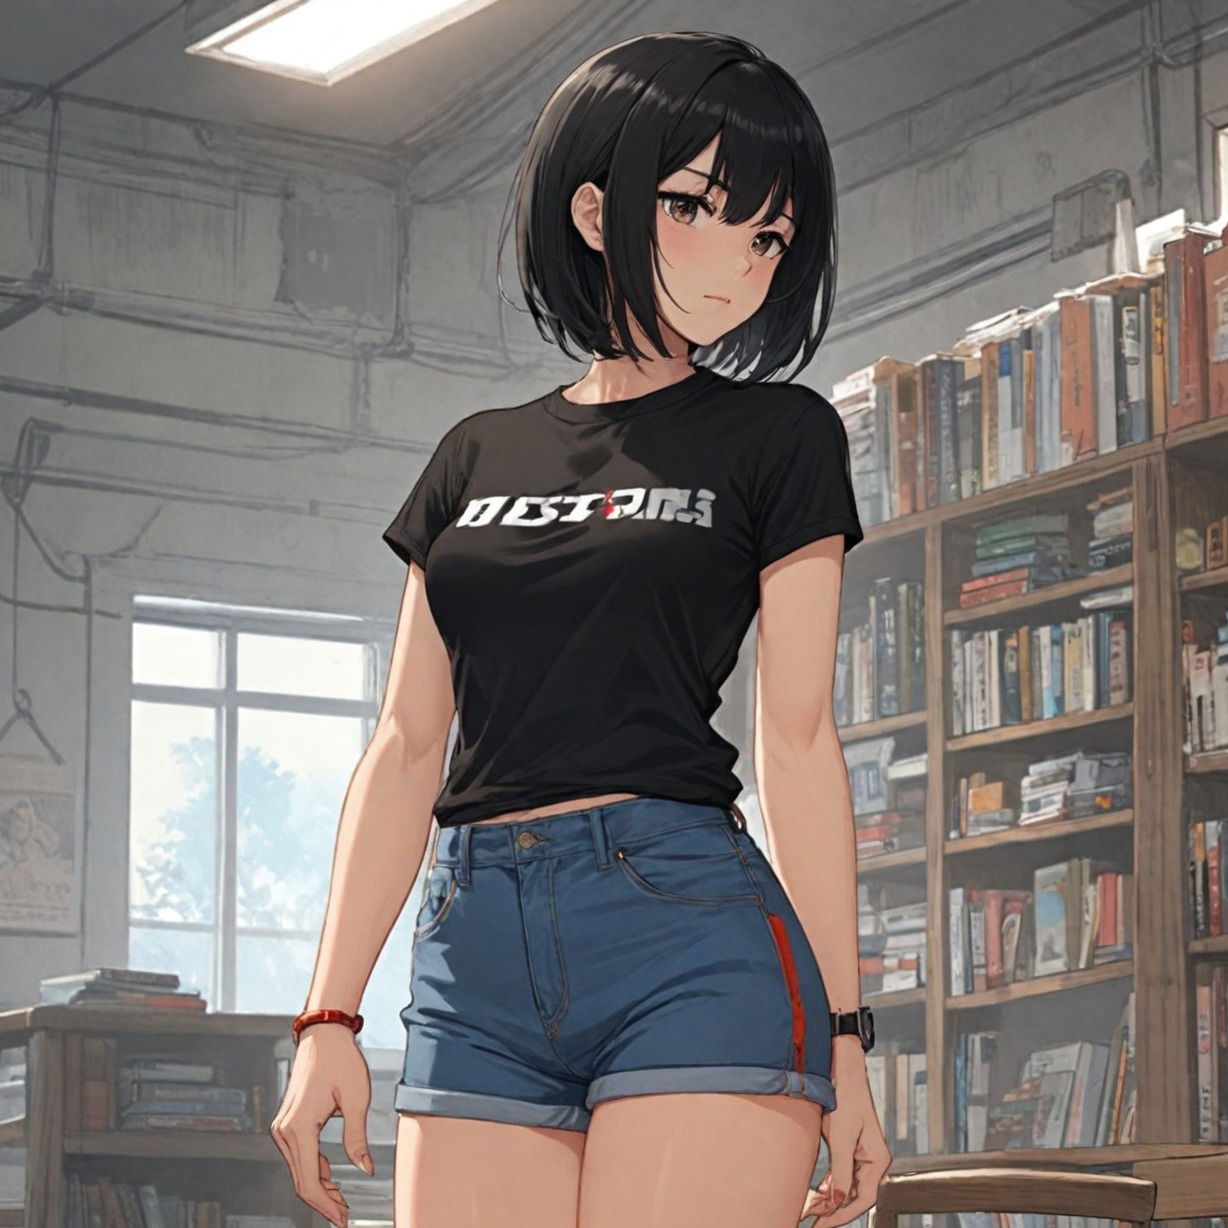
Example Scenario: Drawing a T-shirt on a Male Character
Let's walk through drawing a simple t-shirt on a male character in a relaxed standing pose.
- Body Sketch: Draw a basic male torso and arms.
- T-shirt Silhouette: Sketch the basic shape of the t-shirt, extending down to the hips. Pay attention to the neckline and sleeve openings.
- Adding Folds:
- Shoulders: Where the sleeves meet the shoulders, if the arms are slightly down, there might be slight compression folds.
- Chest/Abdomen: If the t-shirt is slightly loose, there might be gentle vertical folds running down the sides of the torso, influenced by the body's curves.
- Waist: The bottom hem will hang, creating smooth, vertical hanging folds.
- Arms: If the arms are slightly bent, add compression folds at the elbow. If the sleeves are tight, add tension folds along the bicep.
- Refinement: Clean up the lines, ensuring they flow naturally. Add the seam at the shoulder and the hem.
- Shading: Add subtle shadows in the fold crevices and under the collar. Add a highlight along the top edges of the folds where light would catch.