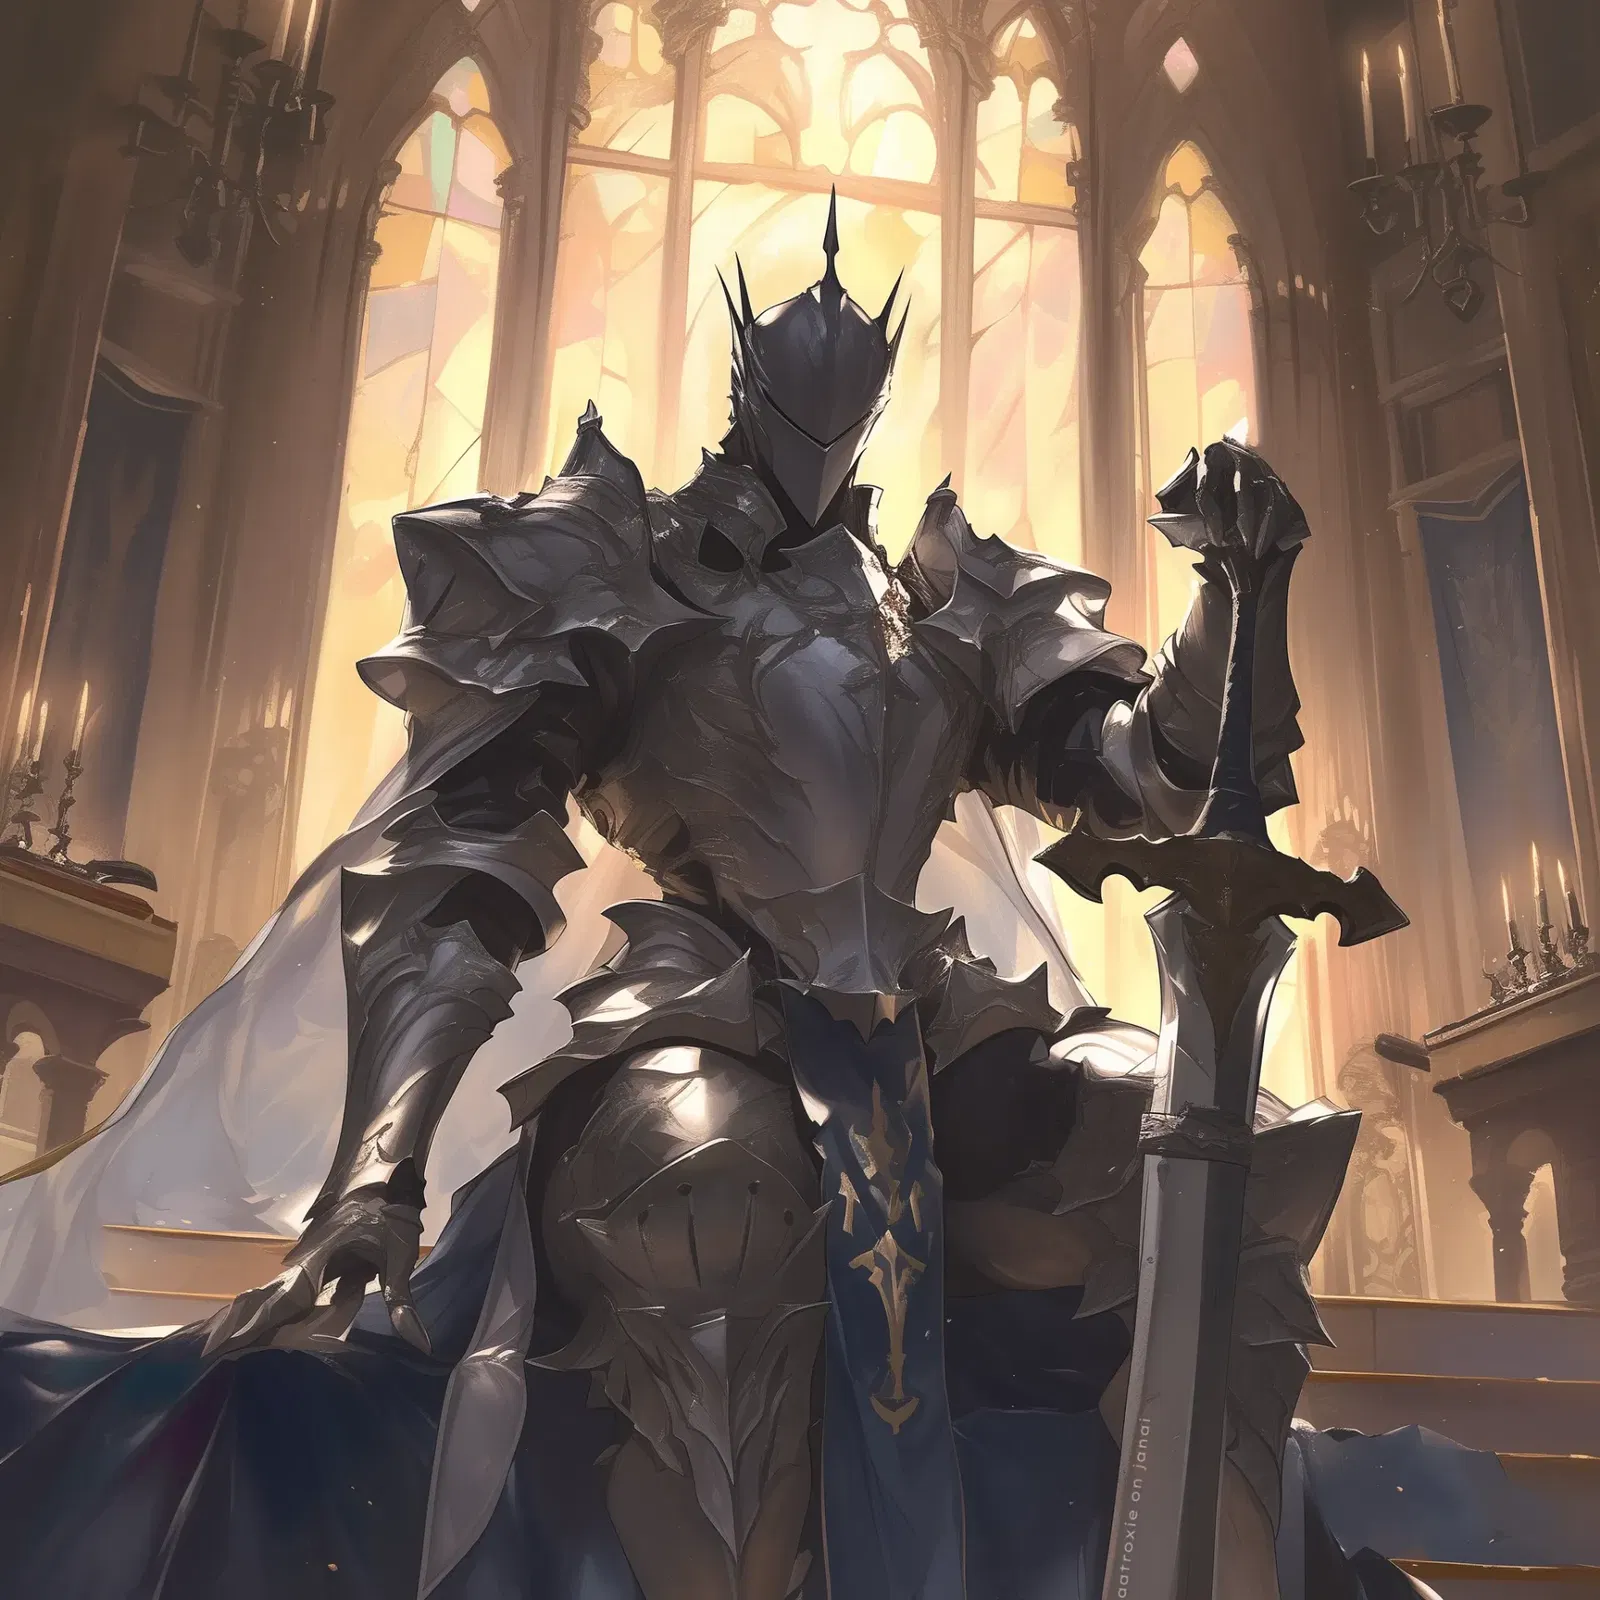
Bringing a male anime character to life digitally involves a structured workflow, from initial concept to polished final artwork.
1. Concept and Ideation:
Every great character begins with an idea. What is their personality? What is their story? What kind of world do they inhabit?
- Character Archetypes: Consider common anime archetypes: the stoic hero, the mischievous rival, the wise mentor, the quirky best friend.
- Visual References: Gather reference images for clothing, hairstyles, body types, and emotional expressions. Pinterest, ArtStation, and even anime screenshots are invaluable resources.
- Thumbnail Sketches: Quickly sketch out various ideas for poses, expressions, and overall design. Don't aim for perfection at this stage; focus on exploring possibilities.
2. Sketching and Line Art:
This is where the character begins to take shape on the digital canvas.
- Rough Sketch: Start with a loose sketch, focusing on anatomy, proportions, and the overall pose. Use a brush that mimics a pencil for a traditional feel.
- Refining the Sketch: Clean up the rough sketch, defining the character's features, clothing, and accessories. Pay close attention to the flow of lines and the character's silhouette.
- Clean Line Art: Create a new layer above the refined sketch and draw clean, precise lines. This is often done with a hard-edged brush. The thickness and weight of your lines can add depth and emphasize certain features. Many artists use vector layers for ultimate control over line art.
3. Base Colors:
Applying flat colors is the next crucial step.
- Color Palette: Choose a color palette that reflects the character's personality and the overall mood of the piece. Consider color theory and how different colors evoke specific emotions.
- Blocking In Colors: Use a solid brush to fill in the main areas of the character with their base colors. Ensure you stay within the lines of your line art. Using the "fill" tool can be efficient, but manual blocking can offer more control.
- Layer Management: Keep different elements (skin, hair, clothes) on separate layers. This makes it easier to adjust colors and make corrections later.
4. Shading and Highlights:
This is where the character gains volume and dimension.
- Light Source: Determine the direction and intensity of your light source. This will dictate where shadows and highlights fall.
- Cell Shading: A common technique in anime, cell shading involves distinct, hard-edged shadows. This creates a clean, graphic look.
- Soft Shading: For a more rendered or realistic feel, use softer brushes and gradients to create smoother transitions between light and shadow.
- Ambient Occlusion: Subtle darkening in crevices and where surfaces meet adds a touch of realism.
- Highlights: Add bright highlights to areas where light directly hits the character, such as the nose, cheekbones, and hair. This brings the character to life.
5. Rendering and Details:
Adding finer details elevates the artwork.
- Texturing: Consider adding textures to clothing, hair, or skin to give them more depth and realism.
- Eye Detail: Anime eyes are often a focal point. Add reflections, highlights, and subtle color variations to make them expressive and captivating.
- Hair Detail: Render individual strands or clumps of hair to give it volume and shine. Pay attention to how light interacts with the hair.
- Clothing Folds: Accurately depicting folds and wrinkles in clothing adds realism and suggests the material's texture and how it drapes on the body.
6. Background and Effects:
The background should complement, not compete with, the character.
- Simple Backgrounds: Often, a gradient, a solid color, or a subtle pattern is sufficient to make the character stand out.
- Detailed Backgrounds: If the background is important to the narrative, ensure it's well-composed and doesn't detract from the main subject.
- Special Effects: Add atmospheric effects like dust particles, lens flares, or motion blur to enhance the dynamism of the scene.
7. Final Touches and Polish:
The last steps involve refining the overall image.
- Color Adjustments: Tweak the colors, contrast, and saturation to achieve the desired mood.
- Sharpening: Apply a subtle sharpening filter to make details pop.
- Review: Zoom out and look at the artwork from a distance. Check for any inconsistencies or areas that need improvement.
This comprehensive process, when applied diligently, will allow you to create stunning anime characters digital art male.


![Ji-Hyun Choi ¬ CEO BF [mlm v.]](https://craveuai.b-cdn.net/users/ZFe9nMwG/characters/avatars/62ed22da-cda0-47cd-ab6c-22860dc0cc81_18722a7a-2ec5-4e37-8a8f-15fa61e9f988.jpg)