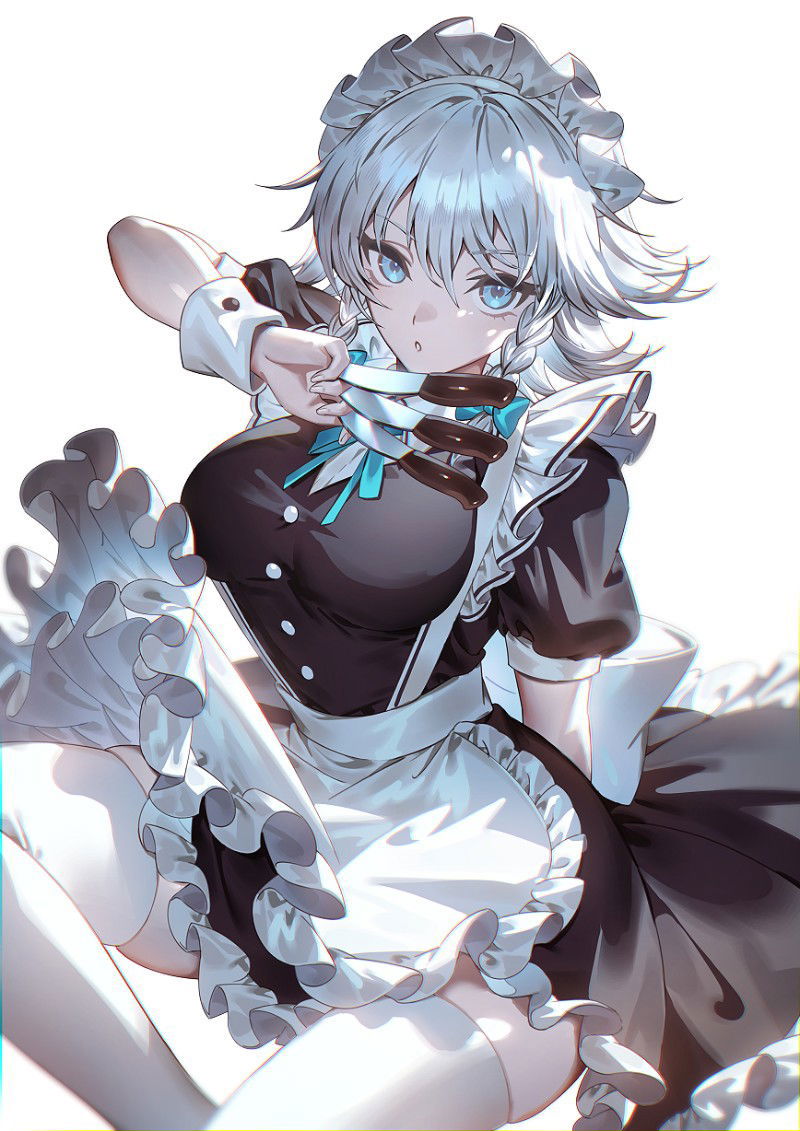
Let's get practical. Follow these steps to construct a basic male anime character.
Step 1: The Head - Basic Shapes
Start with a circle for the cranium. Then, draw a line down from the center of the circle, extending slightly below it. This line will guide the placement of the jaw. Connect the bottom of the circle to the end of this line with two angled lines to form the jaw and chin. For a masculine look, make the jawline sharper and the chin more pronounced.
Step 2: Facial Guidelines
Draw a vertical line down the center of your face shape and a horizontal line across the middle. These are your primary guidelines. Add another horizontal line about one-third of the way down from the top of the circle – this is where the eyes will sit. A line just below the circle will indicate the bottom of the nose, and another line about halfway between the nose line and the chin will mark the mouth.
Step 3: Placing the Features
- Eyes: On the eye guideline, draw two almond-shaped or slightly pointed ovals. Ensure they are spaced appropriately – usually, the distance between the eyes is roughly the width of one eye. Add pupils and irises, paying attention to the highlights that give anime eyes their characteristic sparkle.
- Eyebrows: Draw thicker, more angular eyebrows above the eyes. Their shape and angle will convey emotion.
- Nose: Place a small triangle or a simple line on the nose guideline.
- Mouth: Draw the mouth on its guideline, keeping it relatively simple for a beginner.
- Ears: Position the ears on the sides of the head, with the top aligning roughly with the top of the eye guideline and the bottom aligning with the bottom of the nose guideline.
Step 4: Hair - The Defining Element
Anime hair is often stylized and voluminous. For male characters, common styles include spiky hair, messy bangs, or swept-back styles.
- Start with the hairline: This is where the hair meets the forehead.
- Draw the main masses: Think of hair as large shapes or clumps rather than individual strands initially.
- Add volume and flow: Use curved lines to indicate the direction and movement of the hair. Spikes can be created with sharp, pointed shapes.
- Consider shading: Darker areas within the hair can create depth and highlight the form.
Step 5: The Neck and Shoulders
Draw a strong neck connecting the head to the body. The neck is typically thicker for male characters. Broaden the shoulders from the base of the neck, creating that characteristic inverted triangle.
Step 6: The Torso and Limbs
- Torso: Sketch a basic torso shape, keeping the shoulders broad and the waist relatively narrow. You can add subtle lines to suggest pectoral muscles and abs if desired.
- Arms: Draw the arms extending from the shoulders. Remember they are often elongated. Sketch the basic shapes of the biceps, forearms, and hands.
- Legs: Draw the legs from the torso, again considering elongated proportions. Sketch the thighs, calves, and feet.
Step 7: Refining and Detailing
Now, go over your sketch, refining the lines. Erase unnecessary construction lines. Add details like clothing, accessories, and any specific facial expressions. Pay attention to the flow of the lines to give your character a sense of dynamism.

