Creating compelling and aesthetically pleasing nude art with AI and LORA requires more than just typing a prompt. It involves understanding the interplay between the base model, the LORA file, and the user's input.
1. Choosing the Right Base Model
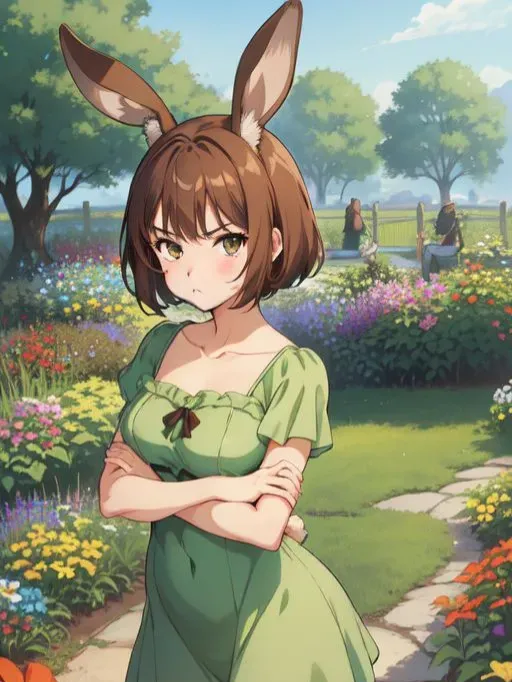
The foundation of your generation is the base AI model (e.g., Stable Diffusion 1.5, SDXL, or custom-trained models). Different base models have different strengths and biases. Some are better at photorealism, others at anime styles, and some excel at artistic interpretations.
- Photorealism: Models trained on vast datasets of photographs are often best for realistic nude depictions.
- Artistic Styles: If you're aiming for a painterly or illustrative look, models fine-tuned on specific art movements or styles will be more suitable.
- Anatomy Understanding: Ensure the base model has a decent understanding of human anatomy. This is crucial for avoiding common AI artifacts like distorted limbs or incorrect proportions.
2. Selecting and Using LORA Models
This is where the specialization happens. For Flux AI LORA nude generation, you'll want LORA models specifically trained on:
- Anatomy: LORAs that enhance anatomical accuracy, muscle definition, and realistic skin textures.
- Style: LORAs that impart a specific artistic style – be it classical painting, digital illustration, fantasy art, or even specific artist emulations.
- Poses/Expressions: Some LORAs might be trained to help generate specific poses or emotional expressions.
How to Use LORA:
Most AI image generation interfaces (like Automatic1111 Web UI, ComfyUI, or online services) allow you to load LORA models. Typically, you'll place the LORA file (often a .safetensors or .ckpt file) in a designated folder and then reference it in your prompt, often with a weight.
Example Prompt Structure:
(masterpiece, best quality, photorealistic:1.2), a beautiful woman, (full body shot), standing gracefully, (detailed skin texture), soft lighting, [LORA_NAME:weight]
[LORA_NAME:weight]: This is where you specify the LORA file and its influence. weight is a number (e.g., 0.7, 1.0, 1.2) that controls how strongly the LORA affects the output. Experimentation is key here. Too low a weight, and the LORA's effect might be negligible. Too high, and it can lead to artifacts or an overly stylized, unnatural look.
3. Prompt Engineering for Nude Art
Crafting effective prompts is an art in itself. For nude generation, consider these elements:
- Subject Description: Be specific about age, ethnicity, body type, hair color, etc., if desired.
- Pose and Action: Describe the pose clearly (e.g., "reclining on a velvet chaise," "stretching languidly," "facing away from the viewer").
- Setting and Environment: Where is the subject? What is the background? (e.g., "in a sun-drenched meadow," "against a minimalist studio backdrop," "in a dimly lit boudoir").
- Lighting: Lighting is crucial for mood and form. Use terms like "soft natural light," "dramatic chiaroscuro," "golden hour glow," "rim lighting."
- Artistic Style: Reinforce the desired style using keywords like "oil painting," "digital art," "photorealistic," "cinematic," "by [artist name]."
- Negative Prompts: Equally important is specifying what you don't want. Common negative prompts for nude art include: "ugly, deformed, extra limbs, disfigured, bad anatomy, poorly drawn hands, watermark, text, signature, blurry, low quality."
4. Iteration and Refinement
AI image generation is rarely a one-shot process.
- Generate Multiple Images: Use batch generation to create several variations from a single prompt.
- Adjust Weights: If a LORA isn't working as expected, try adjusting its weight.
- Tweak Prompts: Modify keywords, add details, or change negative prompts based on the results.
- Inpainting/Outpainting: Use inpainting to fix specific areas (like hands or faces) or outpainting to expand the canvas.
- Upscaling: Once you have a satisfactory image, use AI upscalers to increase resolution and detail.