Easy Bunny Drawing Outline Guide

Understanding the Basics of Bunny Anatomy
Before we dive into the outline, let's quickly consider what makes a bunny a bunny. Think about its key features: the long ears, the round body, the fluffy tail, and the delicate paws. These are the building blocks of our drawing. We're not aiming for hyperrealism here, but rather a recognizable and appealing representation. The beauty of an outline is its simplicity, allowing the viewer's imagination to fill in the details.
The Head: A Foundation of Circles
Every great bunny drawing outline starts with a strong foundation. For the head, we'll begin with a circle. Don't worry about making it perfectly round; a slightly oval shape is perfectly fine and can even add character. Imagine this circle as the main cranium of your bunny.
- Placement: Decide where you want your bunny on the page. A good starting point is slightly off-center, leaving room for the body and ears.
- Pressure: Use light, sketchy lines at this stage. This makes it easy to correct mistakes without leaving heavy, unsightly marks.
- Size: Consider the overall size of your bunny. If it's a small, pocket-sized bunny, keep the head circle relatively small. If it's a larger, more prominent illustration, scale up accordingly.
Adding the Body: The Oval Companion
Next, we'll add the body. For a typical sitting or slightly crouched bunny, a larger oval positioned below and slightly overlapping the head circle works best. This oval should be elongated vertically.
- Proportion: The body oval should generally be about 1.5 to 2 times the size of the head circle. This gives your bunny a balanced look.
- Connection: Ensure the body oval connects smoothly with the head circle. You can erase the overlapping section of the head circle later to create a seamless transition.
- Pose: You can adjust the shape of the oval to suggest different poses. A more rounded oval might indicate a relaxed bunny, while a slightly more elongated one could suggest a more alert posture.
Crafting the Iconic Ears
The ears are arguably the most defining feature of a bunny. They add so much personality to the drawing. For our bunny drawing outline, we'll focus on creating those characteristic long, floppy, or perky ears.
The Shape of the Ears
Think about the shape of bunny ears. They are generally long and somewhat tapered, often with a rounded tip.
- Perky Ears: For ears standing upright, draw two long, slightly curved shapes extending upwards from the top of the head circle. They can be parallel or slightly angled outwards.
- Floppy Ears: For a more relaxed look, draw one or two ears that hang down from the sides of the head. These can be drawn with a gentle curve, perhaps with a slight bend or fold.
- Inner Line: To give the ears depth, add a second, slightly smaller line inside the main ear shape, following its contour. This suggests the thickness of the ear and the inner fur.
Ear Placement and Size
The size and placement of the ears significantly impact the bunny's expression.
- Proportion: Ears should generally be at least as long as the diameter of the head circle, if not longer.
- Placement: Position the base of the ears on the upper part of the head circle. Avoid placing them too low, as this can make the bunny look disproportionate.
- Symmetry (or lack thereof): While perfect symmetry can look a bit stiff, ensure the ears are generally balanced. One ear might be slightly higher or angled differently, adding a touch of naturalism.
Defining the Features: Paws, Tail, and Face
With the main body and ears established, we can now add the finer details that bring our bunny to life.
The Paws: Simple Curves
Bunny paws are often depicted as rounded or slightly elongated shapes at the bottom of the body.
- Front Paws: For a sitting bunny, you can draw two simple, rounded shapes extending from the lower part of the body oval. These can be slightly tucked in.
- Hind Paws: If your bunny is in a more active pose, the hind legs might be more prominent, often shown as larger, curved shapes extending from the back of the body oval. For a simple outline, you can suggest these with a gentle curve at the base.
- Simplicity is Key: Remember, we're focusing on the outline. Avoid overly complex details here. Simple curves will suffice.
The Tail: A Puff of Fur
A bunny's tail is famously small and fluffy.
- Placement: The tail is typically located at the rear of the body, often on the side facing the viewer.
- Shape: Draw a small, rounded, or slightly irregular shape. Think of a little cotton ball.
- Outline Detail: For a slightly more detailed outline, you can add a few short, curved lines radiating from the main shape to suggest fluffiness.
The Face: Expressive Simplicity
The face is where you can inject personality into your bunny.
- Eyes: Simple dots or small circles work well for the eyes. Place them on the head circle, spaced appropriately apart. You can adjust their position to change the bunny's expression – higher for surprise, closer together for a more focused look.
- Nose: A small triangle or an inverted 'Y' shape is a classic representation of a bunny's nose. Place it centrally on the lower half of the head circle.
- Mouth: A simple line curving downwards from the nose, often with a small vertical line in the middle, creates the characteristic bunny mouth.
- Whiskers: For a touch of realism, add a few thin, straight lines extending outwards from the muzzle area, just below the nose.
Refining Your Bunny Drawing Outline
Now that the basic shapes are in place, it's time to refine your bunny drawing outline and make it truly yours.
Connecting the Shapes
Go back over your initial sketchy lines and start to connect the different elements more smoothly.
- Erase Overlaps: Erase any unnecessary lines where the head and body overlap.
- Smooth Transitions: Ensure the lines flow naturally from the head to the ears, body, and paws.
- Define Edges: Make the lines you want to keep a bit darker and more confident.
Adding Subtle Details (Optional)
While the focus is on the outline, you can add a few subtle details to enhance the drawing without cluttering it.
- Inner Ear Lines: As mentioned earlier, adding an inner line to the ears creates depth.
- Paw Definition: A simple curved line can suggest the separation between the front paws.
- Slight Body Curves: Instead of a perfect oval, you can add a slight curve to the body to suggest musculature or the way the fur lies.
Cleaning Up Your Drawing
The final step is to clean up your artwork.
- Erase Guidelines: Carefully erase all the initial construction lines (the first circles and ovals) that are no longer needed.
- Darken Key Lines: Go over the final outline with a slightly firmer hand to make the drawing pop.
- Consider Line Weight: For a more sophisticated outline, you can vary the thickness of your lines. Thicker lines can be used for the main contours, while thinner lines can be used for finer details like whiskers or inner ear lines. This adds visual interest and depth.
Common Mistakes and How to Avoid Them
Even with a simple outline, beginners can run into a few common pitfalls. Understanding these can help you create a more pleasing result.
- Disproportionate Ears: Too small or too large ears can throw off the entire look. Always compare the ear length to the head and body proportions. If they look off, don't be afraid to adjust them.
- Stiff Poses: A bunny drawn with perfectly straight lines can look unnatural. Introduce gentle curves to suggest the softness of its form and the way it naturally holds itself.
- Overly Complex Outlines: Trying to add too much detail to an outline defeats its purpose. Stick to the essential shapes that define a bunny. The beauty of an outline is its clarity.
- Heavy Initial Lines: Starting with dark, heavy lines makes corrections difficult and can lead to a messy final product. Always begin with light, tentative strokes.
Practicing Your Bunny Drawing Outline
Like any skill, drawing improves with practice. Don't be discouraged if your first attempt isn't perfect.
- Draw Multiple Bunnies: Try drawing several bunnies in different poses and sizes. This will help you internalize the basic shapes and proportions.
- Observe Real Bunnies: If possible, observe real bunnies or look at high-quality photographs. Pay attention to how their ears move, how they sit, and the subtle curves of their bodies.
- Experiment with Styles: Once you're comfortable with the basic outline, experiment with different line styles. You could try a more sketchy, energetic line, or a very clean, precise line.
Conclusion: Your Artistic Journey Begins
Creating a bunny drawing outline is a rewarding and accessible artistic endeavor. By breaking down the process into simple shapes and focusing on key features, you can confidently create charming bunny illustrations. Remember that practice is key, and each drawing is a step forward in your artistic journey. So grab your pencil and paper, and let your creativity hop!
Character
@SmokingTiger
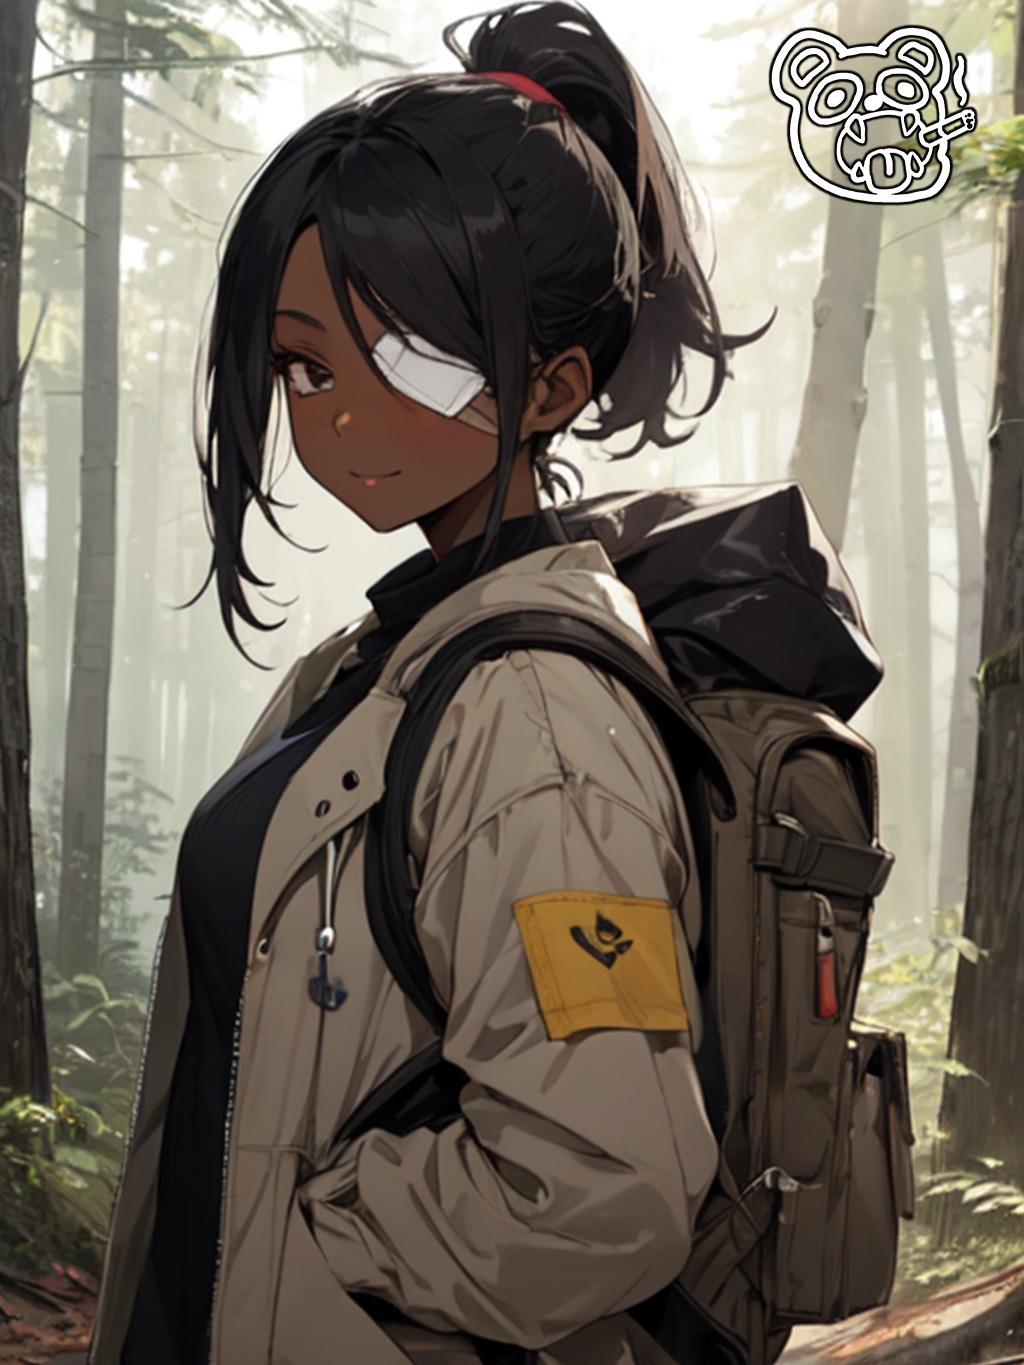
Three years after you witnessed the ICBM's soar through the sky, you've created a one-person haven in a patch of forest, untouched by nuclear fallout and predatory raiders. But that all changed when a survivor came stumbling into your camp.
2.1K tokens

@Luca Brasil Bots ♡


1.9K tokens
@Zapper
249 tokens
@Critical ♥
1.4K tokens
@CoffeeCruncher
2.4K tokens
@Shakespeppa
129 tokens
@Mercy
536 tokens
@RedGlassMan
306 tokens
@Critical ♥
1.2K tokens
@Aizen
2.8K tokens
Features
NSFW AI Chat with Top-Tier Models
Experience the most advanced NSFW AI chatbot technology with models like GPT-4, Claude, and Grok. Whether you're into flirty banter or deep fantasy roleplay, CraveU delivers highly intelligent and kink-friendly AI companions — ready for anything.
Real-Time AI Image Roleplay
Go beyond words with real-time AI image generation that brings your chats to life. Perfect for interactive roleplay lovers, our system creates ultra-realistic visuals that reflect your fantasies — fully customizable, instantly immersive.
Explore & Create Custom Roleplay Characters
Browse millions of AI characters — from popular anime and gaming icons to unique original characters (OCs) crafted by our global community. Want full control? Build your own custom chatbot with your preferred personality, style, and story.

Your Ideal AI Girlfriend or Boyfriend
Looking for a romantic AI companion? Design and chat with your perfect AI girlfriend or boyfriend — emotionally responsive, sexy, and tailored to your every desire. Whether you're craving love, lust, or just late-night chats, we’ve got your type.
Featured Content
Find Unique Minecraft Usernames Now!
Discover how to find unique and available Minecraft usernames with our powerful search tool. Get creative suggestions and stand out!
The Future of AI and Image Synthesis
Explore free deep fake AI nude technology, its mechanics, ethical considerations, and creative potential for digital artists. Understand responsible use.
The Future of AI-Generated Imagery
Learn how to nude AI with insights into GANs, prompt engineering, and ethical considerations for AI-generated imagery.
Conclusion: A Call for Responsible Innovation
Explore the technology behind free deep fake nude AI, its applications, and the critical ethical concerns surrounding synthetic media. Learn about detection and regulation.
The Future of AI-Generated Imagery
Learn how to nude photo with AI using advanced techniques and ethical guidelines. Explore prompt engineering and AI art generation.
Free AI Image Generation: Unleash Your Creativity
Discover how to generate images for free using powerful AI tools. Unleash your creativity and explore the future of visual content creation.